

Baking cannabis cookies is much easier than you might think. The whole secret really comes down to just two simple steps: First, you need to activate your cannabis with heat, and then dissolve it in a fat like butter or oil. Once you’ve mastered these two basics, you’ll be able to make any recipe.
Your Guide to Baking Cannabis Cookies
Welcome to the wonderful world of homemade edibles! If you’ve landed here, you’re probably wondering how you can turn a regular cookie into a truly relaxing experience. The good news is: you don’t have to be a master chef to do it. But there is one golden rule: never just toss your cannabis flowers into the dough raw. That would be a total waste.
That’s because raw cannabis mainly contains THCA, a non-psychoactive precursor. It’s only through a process called decarboxylation —which sounds fancy but simply means controlled heating—that it’s converted into active THC. And that’s exactly what’s responsible for the well-known effects. So this step isn’t optional; it’s the foundation for potent and, above all, reliable cookies.
The right ingredients are key
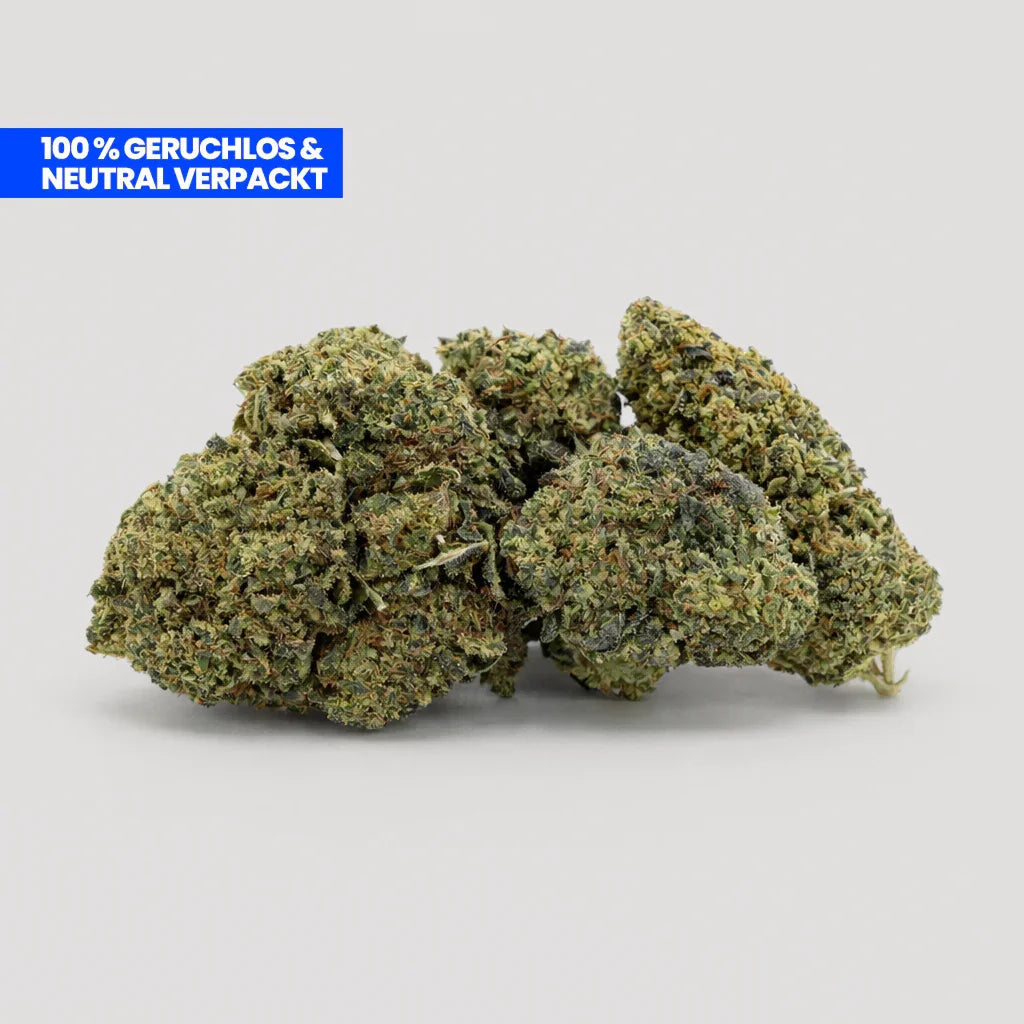
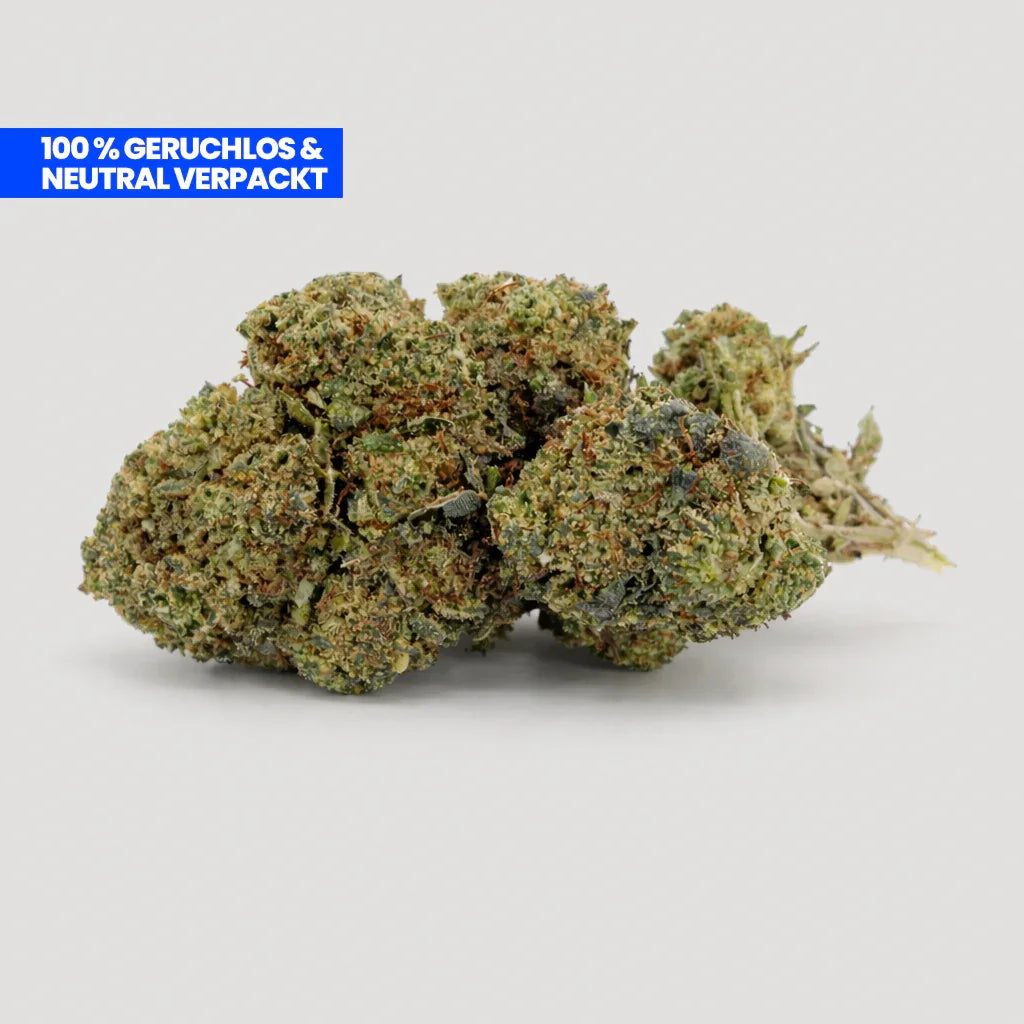
Before we fire up the oven, let’s talk briefly about the most important ingredient: your cannabis. The quality of your buds has a huge impact on the final result. Make sure you use well-dried, aromatic buds with no signs of mold.
A small amount is more than enough to start with. Many beginners make the mistake of trying too hard right from the start and using too much. Just keep this in mind:
- Start small: For your first baking session, 1 to 2 grams of flower is a great, safe guideline for a whole sheet of cookies.
- Quality over quantity: It’s better to have a small amount of good stuff than a bunch of low-quality stuff. The THC content is what determines the dosage later on.
- Be aware of the effects: Edibles have a completely different effect than other forms of consumption—often more intense and, above all, with a significant delay.
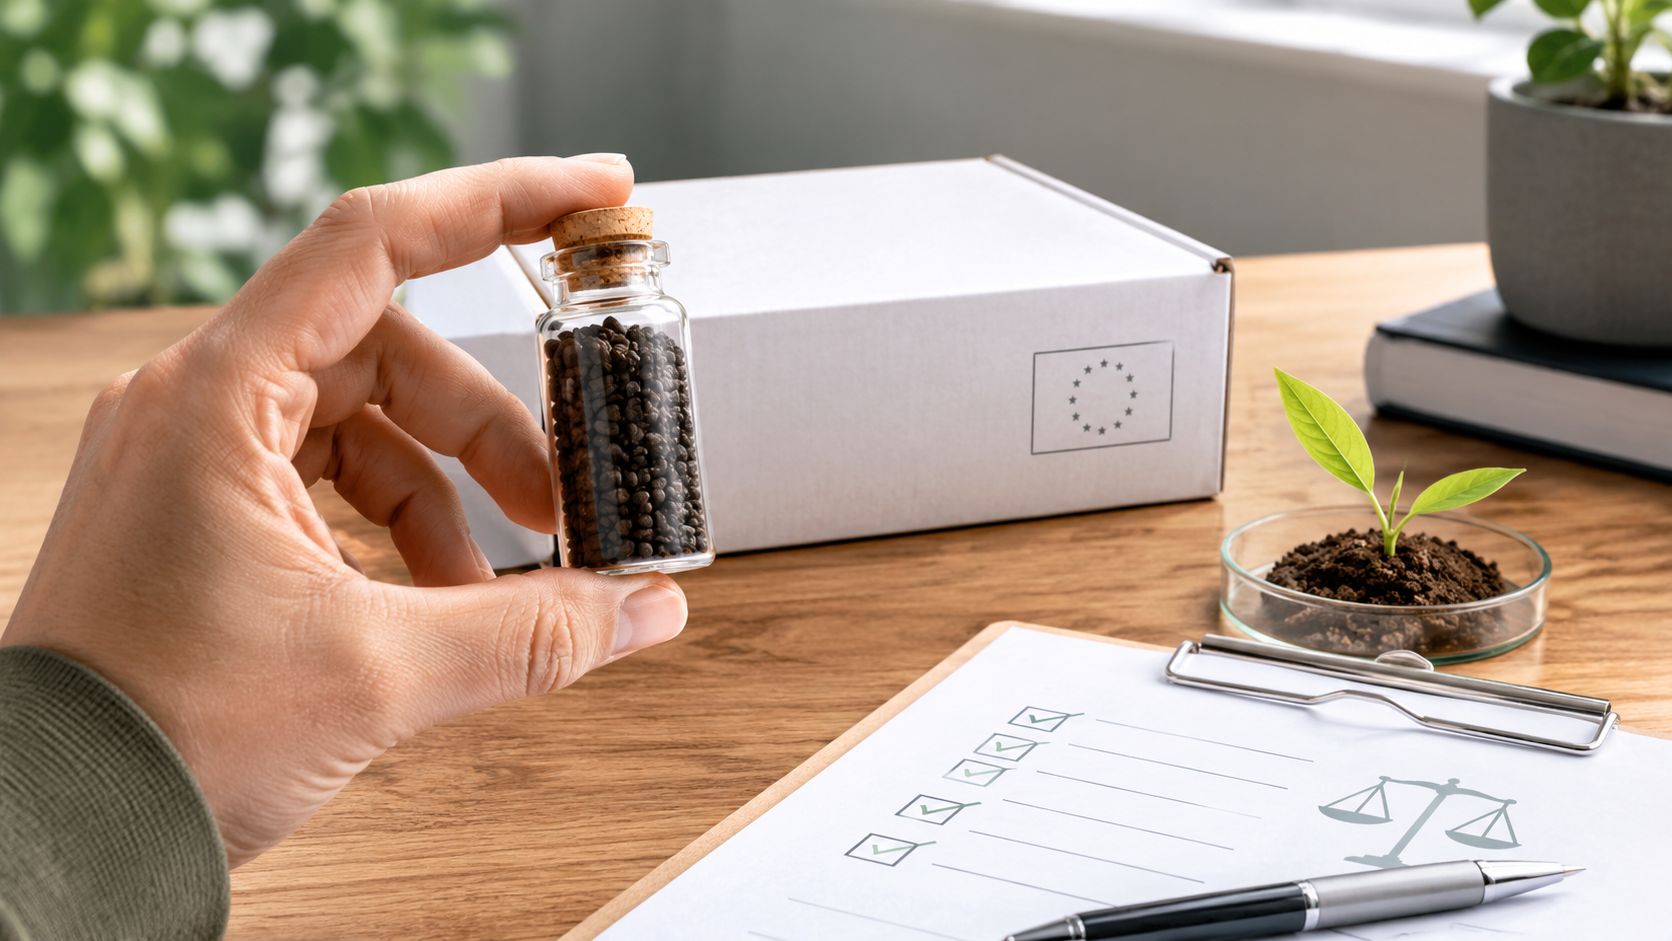
Important Note: This guide is intended solely for informational purposes and promotes responsible use within the legal framework. In Germany, only products with a THC content of less than 0.3% may be used. We do not provide legal advice and strongly urge you to familiarize yourself with the current legal situation.
Your basic baking supplies
You don't need an expensive professional kitchen to get started. You probably already have most of what you need in your drawers. This short checklist gives you a quick overview.
Your Basic Baking Supplies A quick checklist of the tools you really need to make cannabis cookies.
| Step | Equipment Required | My personal tip |
|---|---|---|
| Shred | Grinder or sharp knife | A grinder is worth its weight in gold. It ensures a consistent texture, which is a huge help when baking. |
| Activate | Oven, baking sheet, parchment paper | An affordable oven thermometer is a great investment. It helps you make sure the temperature is exactly right. |
| Infusion | Pot or small pan, fine-mesh strainer, cloth | Use a cheesecloth or a coffee filter to strain it. This will remove even the tiniest bits of plant matter, resulting in a much cleaner taste. |
| Baking | Mixing bowl, whisk/spoon, cookie sheet | The classics that no kitchen should be without. You don't need anything special here. |
With this basic knowledge, you'll be well prepared. Here, we're laying the groundwork for truly delicious cannabis cookies where you can control the effects instead of leaving it up to chance.
If you want to dive even deeper into the subject and learn more about the effects and unique characteristics of edibles, be sure to check out our detailed guide to cannabis edibles. Next, we’ll focus on the most important process of all: proper decarboxylation.
First the activation, then the fun: Here’s how to decarboxylate properly
Before we even think about the dough, there’s the most important step of all: decarboxylation. It sounds complicated, but it’s basically just controlled heating in the oven. This step is absolutely crucial, because it converts the non-psychoactive THCA in your flowers into active THC. Without this process, your cookies will just be… cookies.
Many people skip this step and wonder why their edibles don’t have any effect. Without the right heat, your cannabis basically stays “turned off.” Think of it like a key that needs to be cut before it fits in the lock.
Temperature and Time: The Fine Line Between Success and Failure
The biggest challenge with decarboxylation is finding the perfect sweet spot. You need enough heat to activate the THCA, but not so much that you simply burn off the valuable cannabinoids and terpenes (which are responsible for the aroma and the subtle nuances of the effect). The problem? Most ovens are shockingly inaccurate. A setting of 120 °C can easily fluctuate between 110 °C and 130 °C in reality.
Your best friend here is a simple oven thermometer. It only costs a few dollars and gives you complete control. It’s the best investment you can make to avoid frustration and wasted materials.
My personal pro tip: Go with the “low-and-slow” method. It preserves the terpenes, maximizes the conversion of THCA to THC, and ensures a well-rounded, full-bodied effect. I’ve been experimenting with it for years, and it consistently gives me the best results by far.
The following infographic gives you a quick overview of the entire preparation process, from grinding to the finished infusion.

Here you can see the three main steps at a glance: first, grinding the flowers; then, heat activation; and finally, binding the active ingredients to a fat of your choice.
The "low and slow" method for maximum potency
For this method, preheat your oven to exactly 110°C to 115°C (top and bottom heat is ideal). Use a grinder to coarsely grind your flowers—they shouldn’t be a fine powder, but rather have the consistency of dried oregano.
- Spread the chopped grass evenly on a baking sheet lined with parchment paper.
- Form a loose dome or a sort of tent over the cannabis using aluminum foil. This helps distribute the heat more evenly and trap some of the volatile terpenes.
- Place the baking sheet in the oven for 30 to 45 minutes. About halfway through, you can gently shake the baking sheet so that everything toasts evenly.
You’ll know you’re done when the flowers have a lightly toasted, golden-brown color and your kitchen smells wonderfully of roasted nuts and… well, cannabis. Want to dive even deeper into the subject? Then be sure to check out our detailed guide to perfect cannabis decarboxylation.
How to Control the Smell During Decarboxylation
Speaking of smell: Decarboxylation is anything but discreet. The intense aroma can quickly fill your entire home. Here are my tried-and-true tips for keeping the smell under control:
- The mason jar method: Fill a heat-resistant mason jar with your chopped flowers, close the lid loosely (don’t screw it on tightly!), and place the jar on a baking sheet. This will trap most of the scent.
- The roasting bag trick: Alternatively, you can use a roasting bag. Fill it with the ingredients, seal both ends, and place it directly on the baking sheet.
- Ventilation is key: Open the windows, turn the range hood up to the highest setting, and create a good draft. It’s that simple, and it’s that effective.
For true perfectionists, there’s also the sous-vide method. This involves heating vacuum-sealed cannabis in a water bath, which ensures maximum precision and virtually no odor. However, this requires special equipment and is best suited for enthusiasts who want to take their cannabis baking to the next level. With the oven method and the tips mentioned above, you’re well-equipped to get started.
Getting the active ingredients into the fat: cannabis butter or cannabis oil
Okay, the hard work of decarboxylation is done—your buds are activated. Now comes the really exciting part: the infusion. We need to bind the activated cannabinoids—especially THC—to a fat. Why? It’s simple: THC is fat-soluble (lipophilic) and hates water. Without a fatty carrier medium like butter or oil, the active compounds would just rush right through your body without ever taking effect.

The two most common methods are good old-fashioned cannabis butter and the slightly more modern cannabis oil. Both work great, but each has its own little pros and cons. Let’s see which one works best for you.
Butter or oil—what do you put in your cookies?
The decision really comes down to your personal preference and the recipe you have in mind. Cannabis butter is the absolute classic—the go-to choice for traditional cookie recipes. By the way, its low water content (about 15–20%) isn’t a drawback—it can actually help regulate the temperature in the dough while baking and protect the valuable THC from excessive heat.
Cannabis oil, especially coconut oil, is a brilliant alternative. It’s a lifesaver for all vegan baking projects and often has a much longer shelf life. Plus, coconut oil is packed with saturated fatty acids. These act as the perfect carriers for cannabinoids, ensuring an extremely efficient infusion.
Here's a quick overview to help you make your choice:
| Property | Cannabis butter | Cannabis oil (e.g., coconut oil) |
|---|---|---|
| Taste | Creamy and buttery—perfect for classic pastries. | Ranging from neutral to slightly nutty, it’s incredibly versatile. |
| Versatility | Perfect for cookies and brownies, but also great on toast. | Great for baked goods, but also for gummy bears or capsules. |
| Vegan? | No (unless you opt for a vegan alternative). | Yes, the best plant-based option. |
| Shelf life | It will keep in the refrigerator for about 2–3 weeks. | It will stay fresh in the refrigerator for several months. |
| Efficiency | It's a good infusion, but the water doesn't dissolve the cannabinoids. | Very high efficiency, thanks to the saturated fatty acids. |
In the end, there’s no clear-cut “better” or “worse.” It really depends on what you’re planning to do. For classic cannabis cookies, most people use butter, while oil gives you more freedom to experiment with other recipes.
How to Make the Perfect Infusion
Whether you use butter or oil, the basic principle is the same: heat slowly and gently. We want to gently extract the cannabinoids from the plant material and capture them in the fat without destroying them right away by using temperatures that are too high.
What you'll need:
- Your prepared, decarboxylated cannabis
- 250 g butter or 250 ml coconut oil (or another good vegetable oil)
- A pot or a deep skillet
- A fine-mesh sieve and a cheesecloth (a coffee filter will do in a pinch)
The most important rule is: low heat and plenty of patience. Aim for a temperature between 70 °C and 90 °C. Anything significantly higher than that will start to break down the THC and the delicious terpenes.
My personal tip: Get yourself a cheap kitchen thermometer. It costs next to nothing and takes all the guesswork out of the process. You can see exactly whether you’re in the perfect temperature range and won’t run the risk of ruining all the work you put into decarboxylation.
So, just let the butter or oil melt gently over low heat. Then add your chopped, activated cannabis and stir everything in well. Let the mixture simmer gently for at least 2 to 3 hours —under no circumstances should it boil or bubble vigorously. Stir it occasionally so the active ingredients distribute evenly.
Filter like a pro – for a clean taste
Once the time is up, it’s time for the step that separates good edibles from great ones: straining. No one wants to bite into scratchy plant bits. So now we separate the liquid gold from the spent greens.
Stretch a cheesecloth or a few layers of gauze over a fine-mesh sieve and place it over a heatproof bowl. Slowly pour the still-warm mixture through the cloth and let the liquid drip through.
The most common mistake here? Wringing out the cloth with all your might. Please don’t! That just squeezes bitter chlorophyll and other plant gunk into the fat, which completely ruins the taste of your cookies. Gently pressing with the back of a spoon is fine, but resist the urge to squeeze out every last drop.
Your finished cannabis butter or oil should now have a nice greenish to golden-brown color. Let it cool completely, then pour it into a clean, airtight jar labeled clearly. Pop it in the fridge!
If you want to dive even deeper into the different infusion methods, be sure to check out our detailed guide to making cannabutter. It’s packed with more expert tips.
The right dosage? Your ticket to a relaxing experience
Okay, let’s get down to business—we’re getting to the most important part of baking cannabis cookies: the dosage. This is exactly what determines whether you’ll have an amazing, relaxing time or an experience you’d rather forget right away. The golden rule—one you might as well get tattooed on your arm—is: Start low and wait and see!
Unlike smoking or vaping, edibles take a detour through your stomach and liver. This has two key consequences: the effects kick in much later—often only after 30 to 90 minutes —and they’re usually much more intense and last longer. Impatience is your biggest enemy here.
How much THC is really in my cookies? A practical estimate
Let's be honest: without lab testing, the exact potency of your cookies is pure speculation. But don't worry—we can use a simple formula to at least get a rough estimate. This will give you an idea of how potent a single cookie might be.
The formula is quite simple: (Amount of cannabis in grams × THC content in %) × 1000 = Total THC in mg
Let's look at an example:
- You take 1 gram of cannabis with an estimated THC content of 15%.
- The calculation is: (1 g × 0.15) × 1000 = 150 mg of THC in your total amount of butter or oil.
If you shape this dough into 30 cookies, just divide it up as follows:
- 150 mg THC / 30 cookies = 5 mg THC per cookie.
Important: This is—and always will be—an estimate! A small amount of active ingredient is always lost during decarboxylation and infusion, but the formula gives you a great rough guide.
My biggest rookie mistake, to be honest: I got impatient after 45 minutes because I “didn’t feel anything,” so I took another one right away. Just as the second cookie started to kick in, the first one hit me full force. The result? Anything but relaxed. Give your body time—at least 90 minutes, better yet two full hours—before you even think about taking another one.
Dosage for Beginners and the Golden Rules
For anyone new to the world of edibles or with a low tolerance: A dose of 2.5 mg to 5 mg of THC is perfect for easing into it. Even experienced users find that 10 mg of THC in edibles packs quite a punch.
The following table gives you a rough idea of how different amounts can affect the dose per cookie.
Dosage Examples for Beginners (Estimates) A rough guide to dosage per cookie, based on THC content and the amount of flower.
| THC content (flowers) | Amount used | Number of cookies | Estimated THC per cookie |
|---|---|---|---|
| 10 % | 1 gram | 25 pieces | approx. 4 mg |
| 15 % | 1 gram | 30 pieces | approx. 5 mg |
| 15 % | 2 grams | 40 pieces | approx. 7.5 mg |
| 20 % | 1 gram | 40 pieces | approx. 5 mg |
These figures are a great starting point, but never forget that the results depend on many personal factors:
- Your tolerance: Everyone's body is different. What one person barely notices might be too much for another.
- What's in your stomach: On an empty stomach, it usually works faster and more intensely.
- Your metabolism: It also plays a huge role in how quickly and strongly the effects kick in.
The safest approach is to start with half a cookie and be patient. Experiment a few times to figure out your personal comfort level. In our personal guide to edibles dosing, we go into much greater detail about the specifics and pitfalls. After all, edibles are meant to be a reliable source of relaxation, not an uncontrollable adventure. Take the time to get to know your body and how it reacts.
The Ultimate Recipe for Your Cannabis Cookies

Okay, the liquid gold is ready. Your cannabis butter (or oil) is all set, and you’re wondering: What now? Now comes the best part—we’re finally going to bake those legendary cannabis cookies.
Forget complicated instructions. Here’s my go-to recipe that never fails. It’s super easy, and the result is exactly what you want: classic chocolate chip cookies that are crispy on the outside, soft on the inside, and just perfect for relaxing and letting the effects wash over you.
The ingredients for your perfect cookies
We’re not baking up some witch’s brew here—just a simple but brilliant cookie dough. The only twist: we’re swapping regular butter for your freshly infused creation.
- 125 g of your cannabis butter (or cannabis coconut oil), softened at room temperature
- 150 g brown sugar (the secret to moist cookies with a hint of caramel!)
- 50 g white sugar
- 1 large egg
- 1 tsp vanilla extract
- 225 g all-purpose flour (type 405 is standard, but type 550 works too)
- 1/2 teaspoon baking powder
- 1/2 teaspoon baking soda
- A generous pinch of salt
- 200 g dark chocolate chips or coarsely chopped chocolate
Here’s my pro tip that you shouldn’t skip: Chill the finished dough for at least 30 minutes. This prevents the cookies from spreading into flat pancakes in the oven and gives them that amazing, dense texture. Seriously, this simple step makes a huge difference.
Step by Step to Cookie Heaven
Now it's time to relax. The baking itself is a piece of cake. If you follow these few steps, nothing can really go wrong.
First, the prep work: Preheat the oven to 175 °C (top and bottom heat ) and line a baking sheet with parchment paper. In a small bowl, mix together the flour, baking powder, baking soda, and salt.
Beat until creamy: In a large bowl, beat the softened cannabis butter together with the brown and white sugar until the mixture is nice and creamy. This will take a few minutes, but the mixture should be light and fluffy when finished.
The wet ingredients: Add the egg and vanilla extract, then stir briefly until the mixture is smooth.
Dry meets wet: Add the flour mixture now. Important: Stir just until everything comes together to form a dough. Kneading for too long will make the cookies tough, and nobody wants that.
The chocolate finale: Gently fold in the chocolate chips. Now put the batter in the fridge for that half hour.
Shape them and pop them in the oven: Use two teaspoons or an ice cream scoop to form walnut-sized balls. Place them on the baking sheet with plenty of space between them—they’ll spread out a bit as they bake. Then bake them for 10–12 minutes. The edges should be golden brown, but the center can still look soft—they’ll continue to cook.
Be patient while they cool: After baking, let the cookies sit on the hot baking sheet for a few more minutes. Then carefully transfer them to a cooling rack so they can cool completely.
Tweak the flavor and hide the cannabis vibe
Let's be honest: the earthy taste of cannabis isn't always a highlight. But don't worry—we've got that covered. Strong flavors are your best friends here.
- Dark chocolate: It’s in the recipe for a reason. Its bitter notes mask the taste of cannabis extremely well.
- Nuts: Chopped walnuts or pecans not only add crunch but also bring a rich, distinctive flavor that pairs perfectly.
- Spices: Have some fun experimenting! A pinch of cinnamon, a little cardamom, or the zest of an organic orange can work wonders for the flavor.
- Other fats: If you’re using cannabis oil instead of butter, try unrefined coconut oil. Its exotic flavor often pairs surprisingly well with the hemp aroma.
Now that you’ve mastered the basic recipe, are you ready for more? In our ultimate guide to edible recipes, you’ll find even more inspiration—for brownies or gummy bears, for example. Think of these instructions as your canvas—now it’s your turn to get creative and bake your own masterpiece.
Frequently Asked Questions About Cannabis Cookies
Even with the best instructions, a few questions almost always come up when baking. That’s perfectly normal, because making cannabis cookies has its own little quirks. Here, I’ve compiled the most common stumbling blocks and uncertainties that I come across time and again—with short, concise answers so you can get started with confidence and peace of mind.
How do I store cannabis cookies properly, and how long do they last?
Just like store-bought cookies, your homemade treats aren’t meant to last forever. But if stored properly, they’ll easily keep for 1 to 2 weeks. The trick is to keep them in an airtight container in a cool, dark place. Your pantry is perfect for this, though the fridge works too, of course.
If you want to keep them longer, just freeze them. That way, they’ll stay fresh and potent for months without losing their potency.
Safety is the top priority: Label the container clearly. A sticker that says something like “Warning: Cannabis Cookies!”—including the date and the approximate dose per cookie—is required. Store them where they are completely out of reach of children, pets, or unsuspecting roommates. This isn’t just a nice suggestion—it’s an absolute must.
My cookies aren't turning out right—what went wrong?
That’s the most frustrating moment of all, and it almost always comes down to one of three pretty simple causes. Let’s go over them:
- Decarboxylation failure: This is a classic mistake. If your weed wasn’t hot enough or didn’t stay in the oven long enough, the inactive THCA couldn’t be converted into psychoactive THC. The result: a delicious but ineffective cookie.
- Problems with the infusion: Things can go wrong here, too. Was the temperature too low when you made your cannabis butter, or was the steeping time too short? If so, not enough active compounds will have bound to the fat.
- Timing and a full stomach: Did you eat the cookies right after a big, greasy meal? That can significantly slow down or even reduce the body’s absorption of the active ingredients. Sometimes it just takes much longer than you expect.
Go over these three points again. Most of the time, you'll find the mistake in the process and know exactly what you need to do differently next time.
How do I get rid of the strong cannabis taste?
Not everyone is a fan of the earthy, sometimes quite overpowering flavor of cannabis in baked goods. Fortunately, this taste can be effectively masked if you know how. The secret lies in using strong flavors that act as a counterbalance.
My personal favorites for this are:
- Rich chocolate: Dark chocolate or an extra spoonful of baking cocoa in the batter are the absolute best at masking the taste.
- Peanut butter: The rich, nutty flavor of peanut butter pairs perfectly and quickly takes center stage.
- Strong spices: A generous pinch of cinnamon, a little nutmeg, or some cardamom can work wonders and give the cookie a whole new flavor.
- Coffee: A teaspoon of instant espresso powder not only enhances the chocolate flavor but also subtly masks the cannabis aroma.
Another pro tip is to “wash” your cannabis butter. To do this, mix the finished, still-liquid butter with an equal amount of water, let it set in the fridge, and then simply pour off the water. The water draws out many bitter plant compounds, such as chlorophyll, which significantly mellows the flavor.
What does German law say about baking cannabis cookies?
This point is extremely important and often causes confusion. So, just to be clear from the start: This is not legal advice. Always make sure to check the current laws yourself.
Under Germany’s partial legalization, the private possession and personal cultivation of cannabis for personal use are permitted under clear conditions. In principle, this also includes processing it into edibles, such as cookies, for personal use only.
But here’s what you absolutely need to keep in mind:
- Giving or selling homemade cannabis edibles to others is strictly prohibited.
- The protection of minors is a top priority. Any sale to them constitutes a serious criminal offense.
- Strictly adhere to the legal limits on cannabis possession.
Being responsible means knowing and following the rules. Bake only for yourself and make sure no one else accidentally gets their hands on your cookies.
Ready to get started with ingredients where quality and transparency come first? At Happy Flower, you’ll find everything you need for your next baking adventure—with the promise that we won’t sell anything we wouldn’t use ourselves. Explore our selection and kick off your next kitchen project at https://happyflower.io.
🍪 Discover edibles at Happyflower
Lab-tested · Discreet shipping · ⭐ 4.6/5 (750+ reviews)
View edibles now →


Share:
Afghan Hash vs. Dry Sift – What's the Difference?
The Ultimate Guide to Bubble Hash Machines for 2026